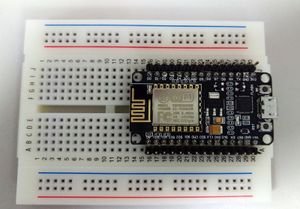
Pin definition
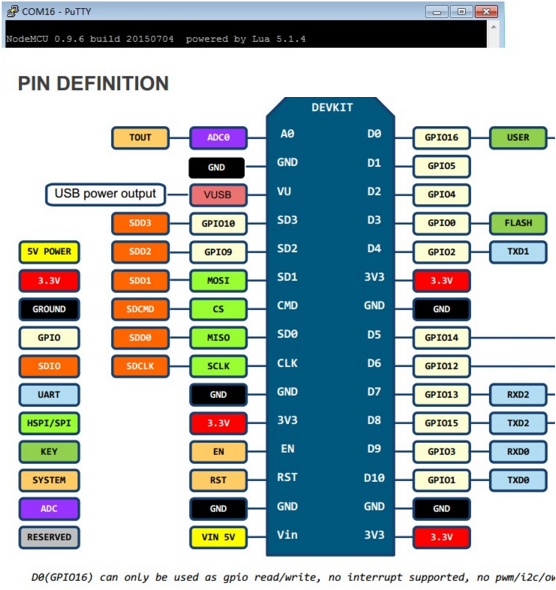
Pre-build firmware
NodeMCU flasher
NodeMCU flasher is a firmware programmer for NodeMCU DEVKIT V0.9.
You can use it to program NodeMCU DEVKIT or your own ESP8266 board.
You MUST set GPIO0 to LOW before programming, and NodeMCU DEVKIT V0.9 will do it automatically.
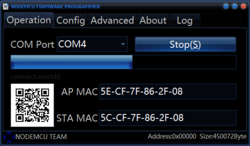
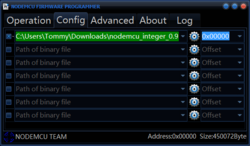
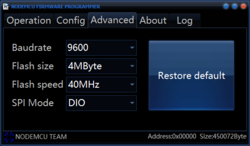
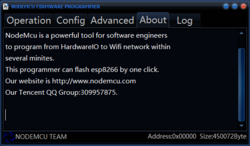
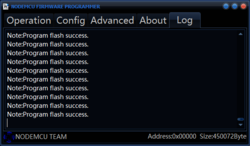
- Download
- Prepare & running
- So far, it seems like only can flash success in Windows environment
ESPlorer
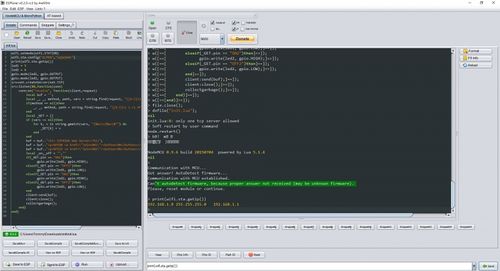
- Download
- Build from source
1.    Install Netbeans 8.1, download from here. I used the "All", but I think Java SE should be enough.
2.    Install JDK 1.7 (I wasn't able to use JDK 1.8), download from here.
3.    Download rsyntaxtextarea 2.5.6.jar (I wasn't able to use any other version) from here, put it somewhere and remember where (e.g.: inside the ESPlorer root dir)
4.    Open the project.properties file in a texteditor, and edit file.reference.rsyntaxtextarea-2.5.6.jar to point to where you put rsyntaxtextarea 2.5.6.jar
5.    Open netbeans
6.    Open the ESPlorer project, you should get an error about the JDK platform
7.    Click resolve, add platform
8.    Add the JDK 1.7 dir, and where it says Name you should see "JDK 1.7", rename that to "JDK1.7" (notice the lack of a space), close the dialog 9 press F11 to build
9.    The ESPLorer .jar should be under the dist subdir
- Prepare & running
- Install java
- java -jar EXPlorer.jar
Breathing LED
pwm.setup(2, 500, 512)
pwm.start(2)

pwm.setduty(2, 0)
i = 0

while true do
    while i < 512 do
    pwm.setduty(2, i)
    i=i+5
    tmr.delay(20000)
    end

    tmr.delay(100000)

    while i > 0 do
    pwm.setduty(2, i)
    i=i-5
    tmr.delay(20000)
    end

    tmr.delay(50000)
end
httpserver to control GPIO
- Lua script ( wifi.sta.config SHOULD provide real AP information)
wifi.setmode(wifi.STATION)
wifi.sta.config("YOUR_NETWORK_NAME","YOUR_NETWORK_PASSWORD")
print(wifi.sta.getip())
led1 = 3
led2 = 4
gpio.mode(led1, gpio.OUTPUT)
gpio.mode(led2, gpio.OUTPUT)
srv=net.createServer(net.TCP)
srv:listen(80,function(conn)
    conn:on("receive", function(client,request)
        local buf = "";
        local _, _, method, path, vars = string.find(request, "([A-Z]+) (.+)?(.+) HTTP");
        if(method == nil)then
            _, _, method, path = string.find(request, "([A-Z]+) (.+) HTTP");
        end
        local _GET = {}
        if (vars ~= nil)then
            for k, v in string.gmatch(vars, "(%w+)=(%w+)&*") do
                _GET[k] = v
            end
        end
        buf = buf.."<h1> ESP8266 Web Server</h1>";
        buf = buf.."<p>GPIO0 <a href=\"?pin=ON1\"><button>ON</button></a> <a href=\"?pin=OFF1\"><button>OFF</button></a></p>";
        buf = buf.."<p>GPIO2 <a href=\"?pin=ON2\"><button>ON</button></a> <a href=\"?pin=OFF2\"><button>OFF</button></a></p>";
        local _on,_off = "",""
        if(_GET.pin == "ON1")then
              gpio.write(led1, gpio.HIGH);
        elseif(_GET.pin == "OFF1")then
              gpio.write(led1, gpio.LOW);
        elseif(_GET.pin == "ON2")then
              gpio.write(led2, gpio.HIGH);
        elseif(_GET.pin == "OFF2")then
              gpio.write(led2, gpio.LOW);
        end
        client:send(buf);
        client:close();
        collectgarbage();
    end)
end)
- Accessing your web server
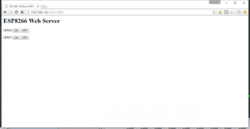
When your ESP8266 restarts it prints in your serial monitor the IP address of your ESP8266.
If you type your ESP8266 IP address in your web browser, you can access your web server.
In my case it’s http://192.168.1.8.
Using Arduino IDE as ESP8266 development tool
- Download the Arduino IDE 1.8.2 above
- Go to File --> Preferences and add the link http://arduino.esp8266.com/stable/package_esp8266com_index.json to the Additional Boards Manager URLS.
- Go to Tools --> Board --> Boards manager
- You should now have the esp8266 as an option there since you've added it to the Additional Boards. Select it and press Install
- Wait, and then, ....
- Now, You have the ESP8266 boards configure. Choose the board you have, "Generic ESP8266 Module" if you got the regular module
Reference
