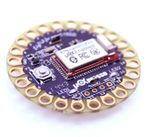
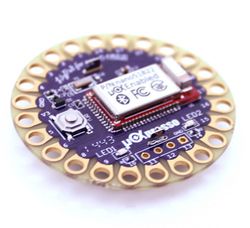
LilyPad, nano51822
目錄
LPCXpresso IDE installation
i386 libraries dependency
- sudo apt-get install libgtk2.0-0:i386 libpangox-1.0-0:i386 libpangoxft-1.0-0:i386 libidn11:i386 libglu1-mesa:i386 libxtst6:i386 libncurses5:i386
Install
- tar -zxvf Installer_LPCXpresso_8.1.0_597_Linux-x86.tar.gz
- ./Installer_LPCXpresso_8.1.0_597_Linux-x86
Uninstall
- rm -rf /usr/local/lpcxpresso_8.1.0_597/
- rm -rf ~/.eclipse/org.eclipse.platform_4.5.1_1432965327_linux_gtk_x86/
- ls ~/.eclipse/org.eclipse.platform_4.5.1_1432965327_linux_gtk_x86/plugins/ <---installed software
Running IDE
- /usr/local/lpcxpresso_8.1.0_597/lpcxpresso/lpcxpresso
Install Plugin-in
- Go to "Help / Install New Software..." and press "Add"
- Name: Eclipse Juno
- Location: http://download.eclipse.org/releases/juno
- Select Plug-in
- General Purpose Tools / Marketplace Client
- Mobile and Device Development / Target Management Terminal
- Go to "Help / Install New Software..." and press "Add"
- Name: RXTX
- Location: http://archive.eclipse.org/tm/updates/rxtx
- Go to "Help / Eclipse Marketplace" and search "SVN"
- Install "Subversive - SVN Team Provider"
- Got to "Window / Show View / Other..." and select "SVN / SVN Repositories"
- Install "Subversive SVN Connector / SVN Kit 1.8.11" <--- select latest version
Checkout SDK
- Go to "SVN Repositories" tag and press "New Repositories Locations"
- Add URL "https://github.com/ucxpresso/nano51822"
- Expand the SVN repository and right click the "trunk / uCXpresso.NRF" to checkout the base
Checkout example & compile it
- Expand the SVN repository and right click the "trunk / examples" to checkout the code
- Go to Workspace and select the example you want to compile
- Go to "Quickstart Panel" and run "Build 'xxx'[Debug]"
- The image(xxx.hex) will under Debug folder
Upgrade FW through DFU
- Install "Master Control Pannel"(MCP)APP for Android
- Upload .hex to dropbox
- DFU over the air
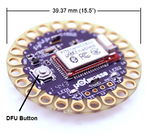
- Switch to DFU mode by long press DFU button(~3 secs)
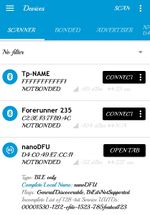
- scan & connect to "nanoDFU' device
- press dfu to start upgrade
- Select file type
- Choose your source
- Press "No" for Init Packet without CRC checking
- waiting for finish


